



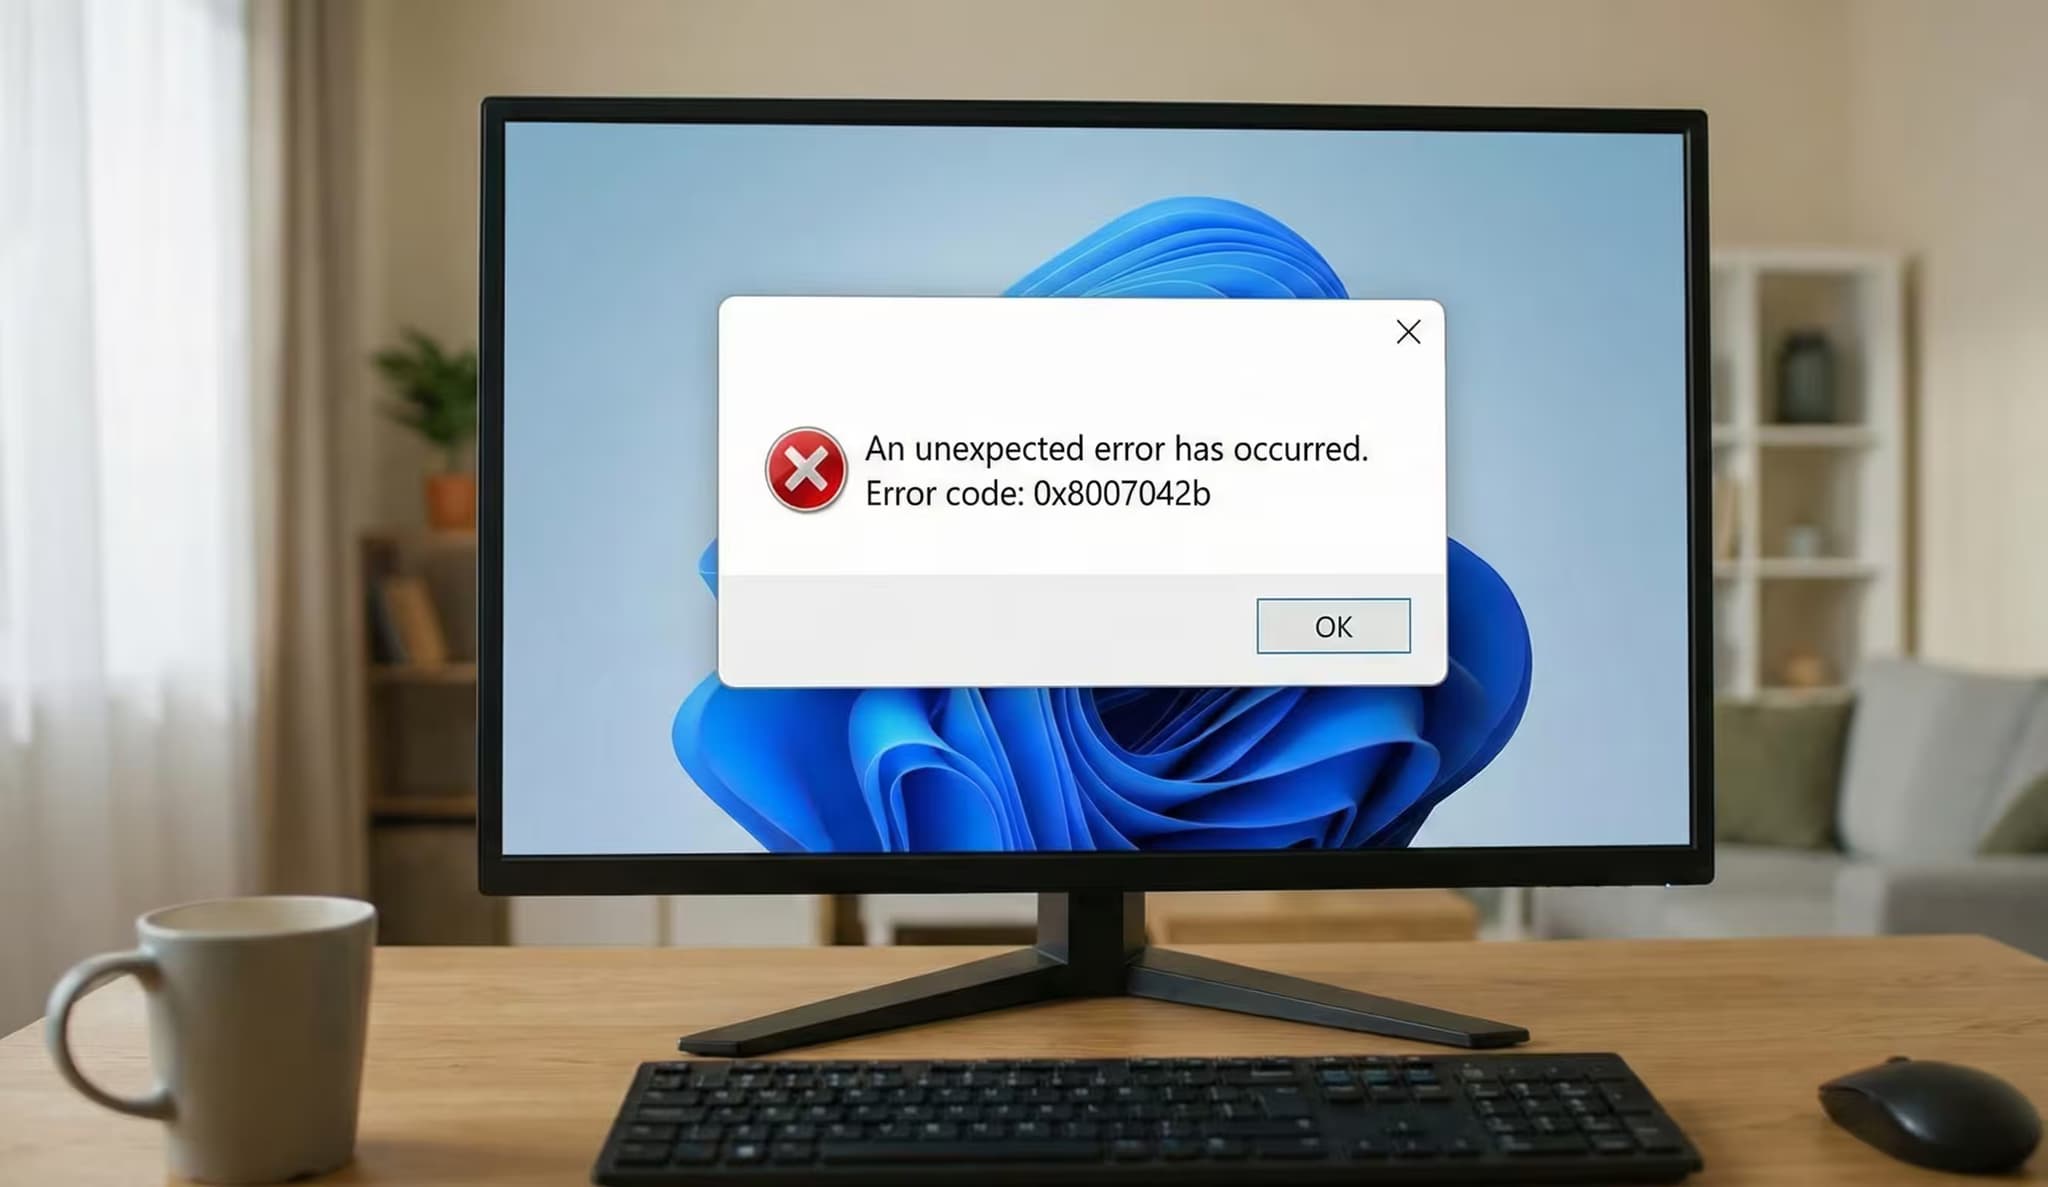
You probably know the feeling: the upgrade is running, the progress bar creeps slowly forward, and suddenly it stops. Cancelled. Error code 0x8007042B appears and you are left standing there. What happened? In most cases, some program in the background has interfered with the installation. The usual suspect: the antivirus scanner. It notices that huge numbers of system files are changing, decides that is dangerous and shuts everything down. It can also be other software getting in the way. Either way, these five steps will get things working again.
1. Switch off the antivirus scanner
Yes, that sounds odd at first. But antivirus programs and Windows upgrades often simply do not get along. The scanners see all the file operations and raise the alarm, even though everything is fine. So: before the upgrade, shut down the protection completely. Not just real-time protection, ideally the whole program. Once everything is installed, you switch it straight back on, of course.
2. Start Windows without the extra baggage
It is not only the antivirus scanner that can cause trouble. Tuning tools, cloud sync programs, printer services, anything that spreads out in the background is a potential source of interference. That is why a so-called clean boot is worthwhile.
Here is how: press Win + R, type msconfig and press Enter. On the "Services" tab, first tick "Hide all Microsoft services", then click "Disable all". Next, open Task Manager (Ctrl + Shift + Esc) and, under "Startup", disable everything that is active there. Restart the PC. Now only bare Windows is running, perfect for the upgrade.
3. Clear out old update clutter
If previous upgrade attempts have gone wrong, there may be corrupted files lying around in the update cache. These can sabotage the next attempt straight away.
To clear the cache, you need a Command Prompt with administrator rights. There, first stop the update services: net stop wuauserv, net stop bits, net stop cryptsvc, net stop msiserver. Then rename the cache folders, Windows simply creates them again afterwards: ren C:\Windows\SoftwareDistribution SoftwareDistribution.old and ren C:\Windows\System32\catroot2 catroot2.old. Finally, start the services again, this time from bottom to top: net start msiserver, net start cryptsvc, net start bits, net start wuauserv.
4. Check whether Windows itself is still intact
None of this helps if the system itself is already damaged. So before the next attempt, run the built-in tools once. Open the Command Prompt as administrator again and type the following one after another: first sfc /scannow, then dism /online /cleanup-image /scanhealth, then dism /online /cleanup-image /restorehealth. And because it does no harm, run sfc /scannow once more afterwards. Restart the computer.
5. Start again from the beginning, this time it works
Now everything is tidied up. The antivirus scanner is out of the way, no background program is interfering, the update cache is fresh and the system files are in order. Simply start the upgrade again. As a rule, it now goes through smoothly.